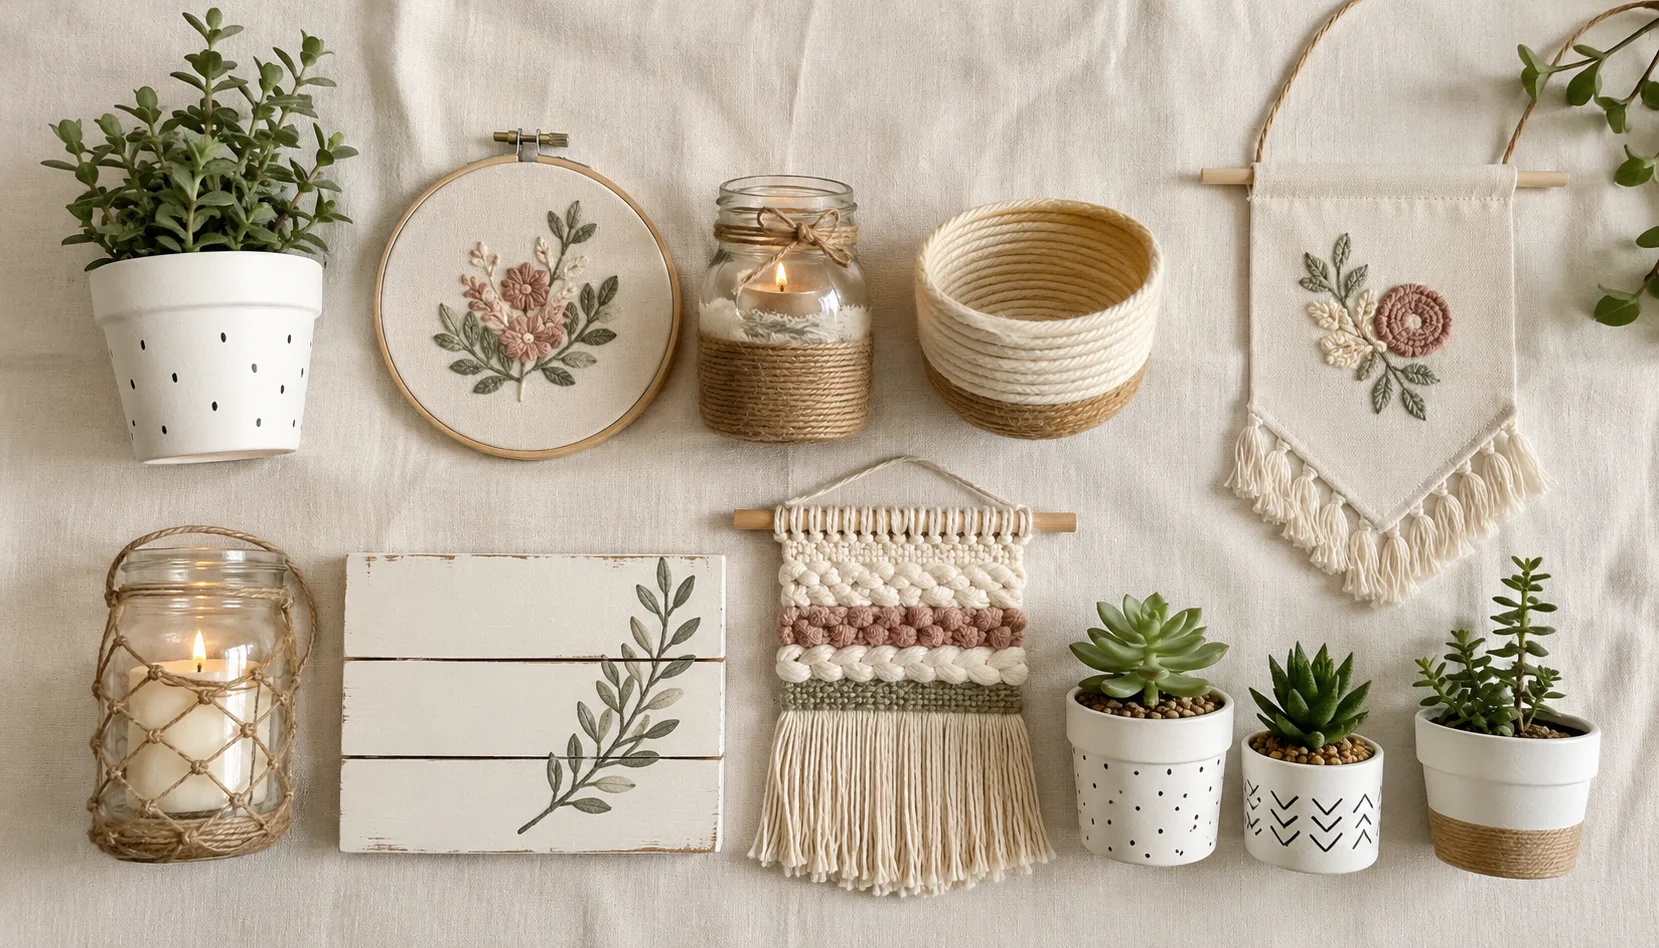
Here’s something the home decor industry doesn’t want you to know: most of what makes a room look beautiful costs almost nothing to recreate yourself. That ceramic vase for $45? You can make something better for $4. That woven wall hanging for $80? Thirty minutes and $8 of rope.
DIY home decor isn’t about settling for less. It’s about making more: more personalised, more intentional, and more satisfying than anything you could buy off a shelf. And when each project costs under $20, experimenting feels genuinely low-risk.
Here are 10 projects that prove beautiful doesn’t have to mean expensive.
Why DIY Home Decor Is Worth Your Time
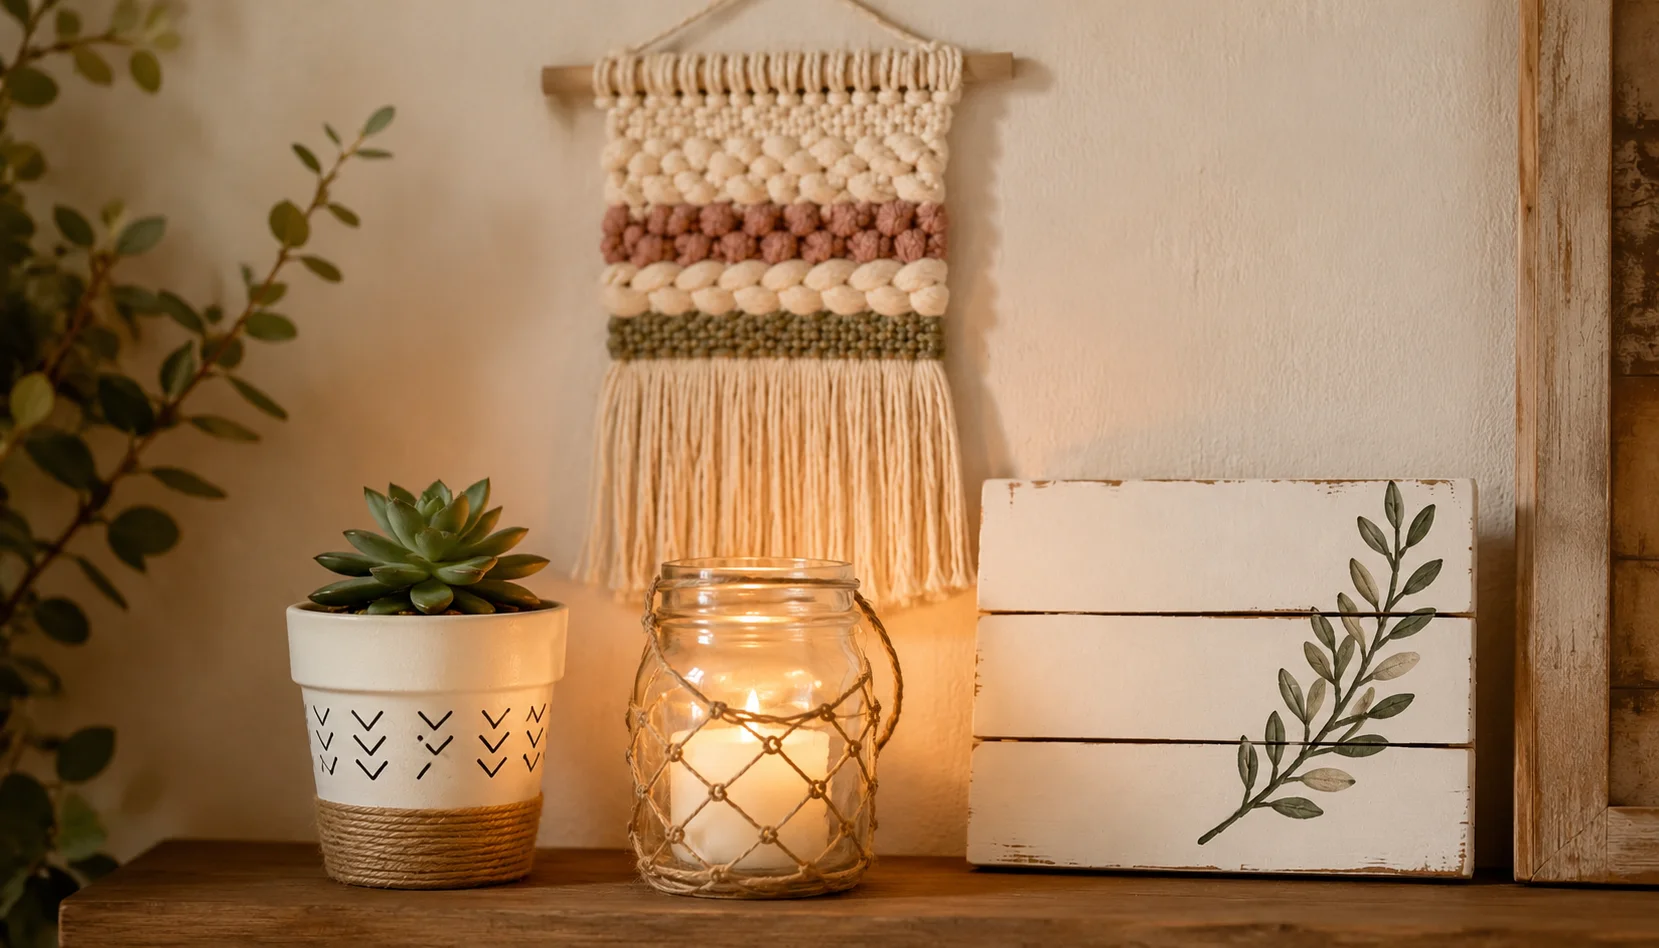
It’s genuinely cheaper. Retail markups on home decor are enormous, often 300 to 500 percent. Making your own cuts through that entirely.
It’s personalised. You choose the exact colour, size, and style that fits your space. No compromising because the shop only had it in grey.
It’s satisfying. There’s a real joy in pointing to something in your home and saying “I made that.”
It’s flexible. Don’t like how it turned out? Paint over it. Start again. The stakes are low enough that experimenting is actually fun.
It fills gaps affordably. New home or rented apartment with bare walls? DIY decor is the fastest, cheapest way to make a space feel lived-in and loved.
Budget Materials to Buy Before You Start
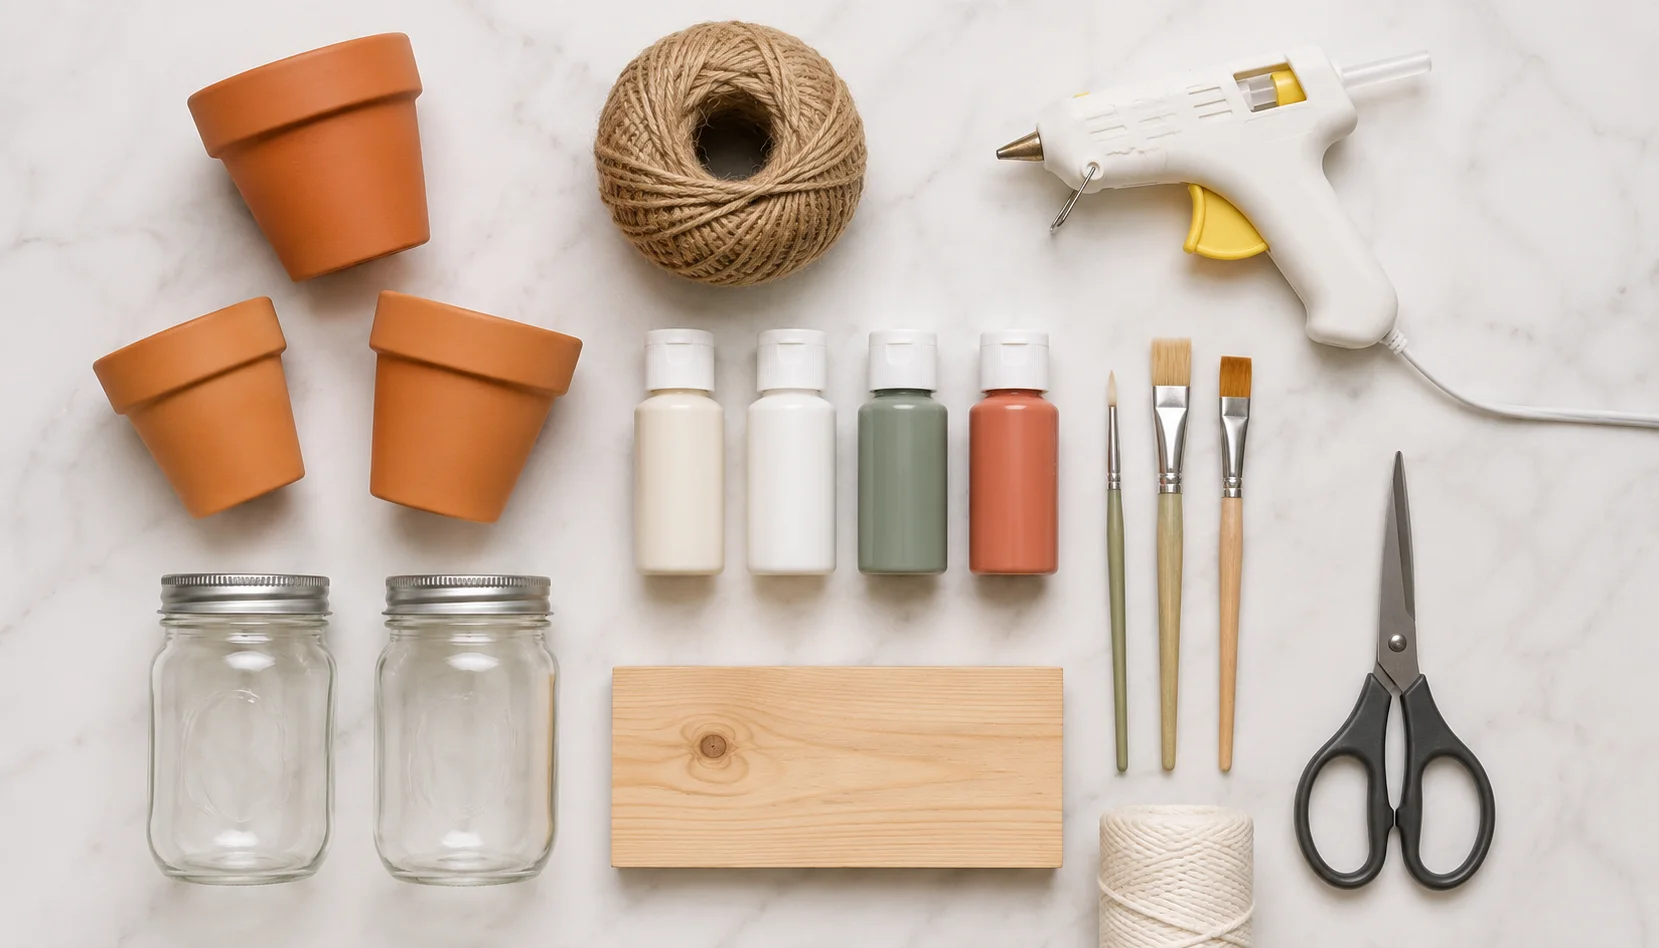
Before jumping into individual projects, grab these basics. They’ll cover most of the 10 projects below and cost around $30 to $40 total, which means each project works out to just $3 to $4 once you have supplies on hand.
Paint: A small set of acrylic craft paints ($6–8). Get white, black, and 2–3 colours you love.
Brushes: A basic set of 5 assorted brushes ($4).
Rope or twine: Natural jute rope, 3–4mm thickness ($6 for a large roll).
Hot glue gun + sticks: Essential for almost every project ($8–10).
Scissors and craft knife: You likely already have these.
Terracotta pots: Small ones are $1–2 each at garden centres or dollar stores.
Mason jars: $1–2 each, or reuse food jars.
Wooden boards or plaques: Craft stores sell unfinished wood pieces for $2–4.
Where to shop: Dollar stores, charity/thrift shops, craft stores (Hobbycraft, Michaels, Dollar Tree), and hardware stores for rope and wood.
Painted Terracotta Pots
Cost: $3–6 | Time: 30 minutes + drying
Terracotta pots are one of the most underrated craft materials. Plain, they look basic. Painted, they look like something from an expensive boutique.
What you need: Terracotta pots, acrylic paint, brushes, sealer spray (optional)
How to do it:
- Clean and dry your pots completely
- Paint the outside with a base coat, white or cream works beautifully
- Let dry fully (30 minutes)
- Add a second coat if needed
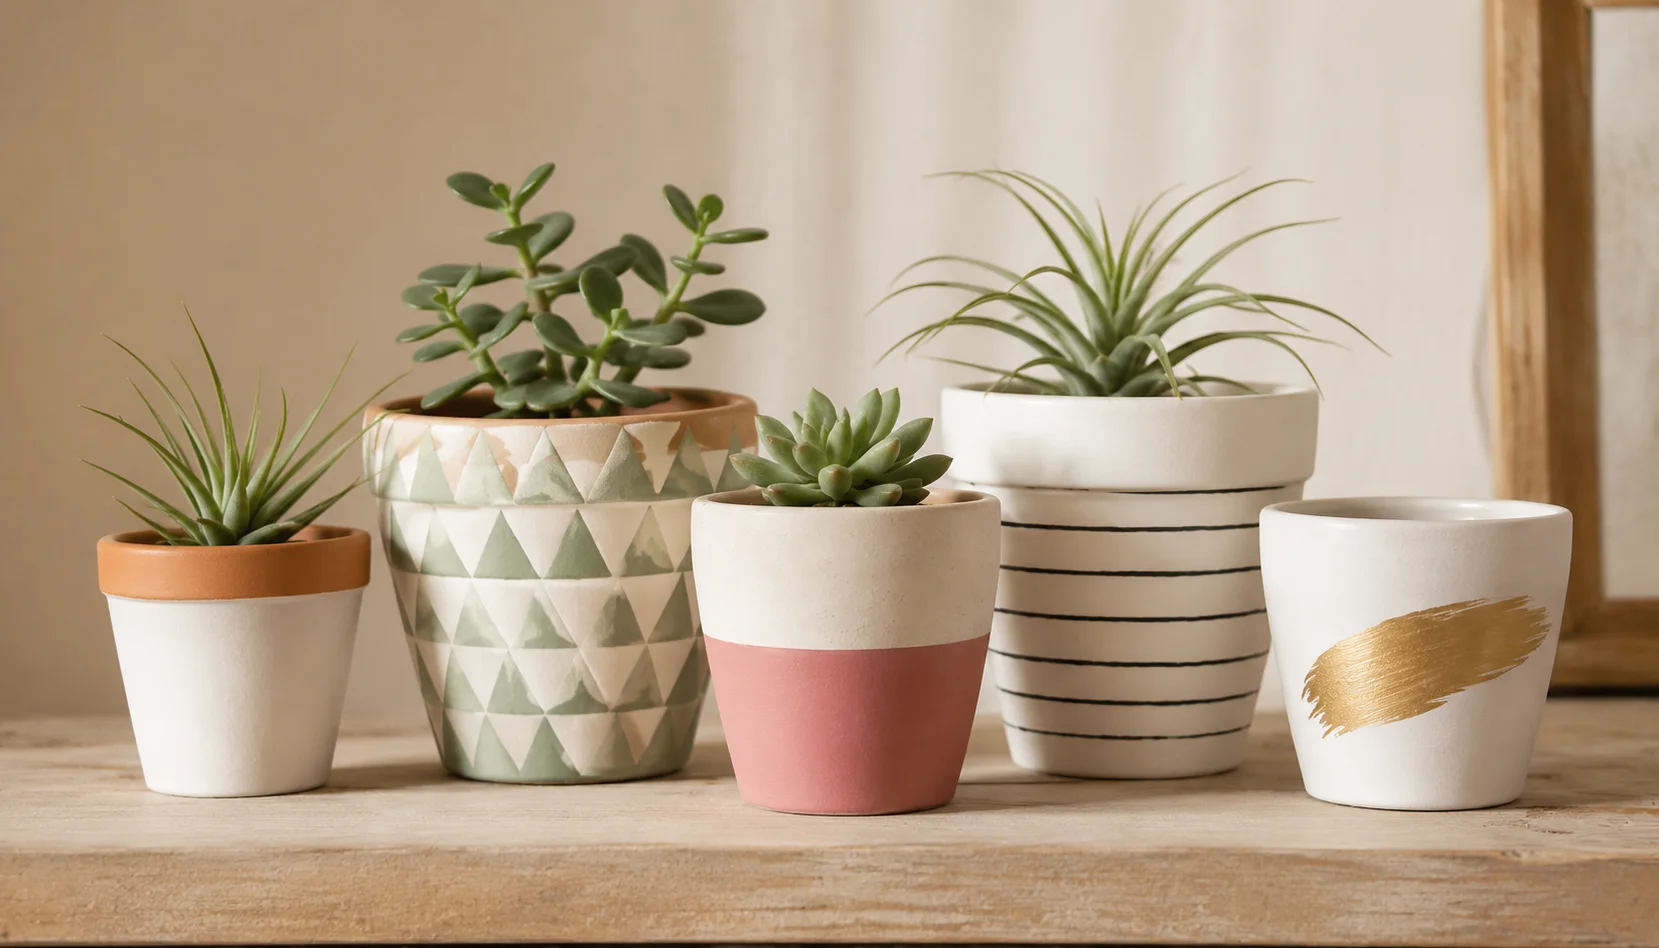
- Once dry, add a pattern: simple geometric shapes, dipped bottoms, stripes, or abstract brush strokes all look great
- Seal with a clear acrylic spray if the pot will hold a real plant
Ideas to try: Half-dipped in terracotta colour, white pot with a thin black rim, sage green with a cream stripe, or a simple abstract brushstroke in gold.
Display: Group three different sizes together on a shelf or windowsill. Use them for small succulents, air plants, pencils, or just as decorative objects. If you enjoy hands-on projects like this, our guide to air dry clay home decor covers even more beginner-friendly handmade pieces.
Wall Art From Fabric
Cost: $5–12 | Time: 20 minutes
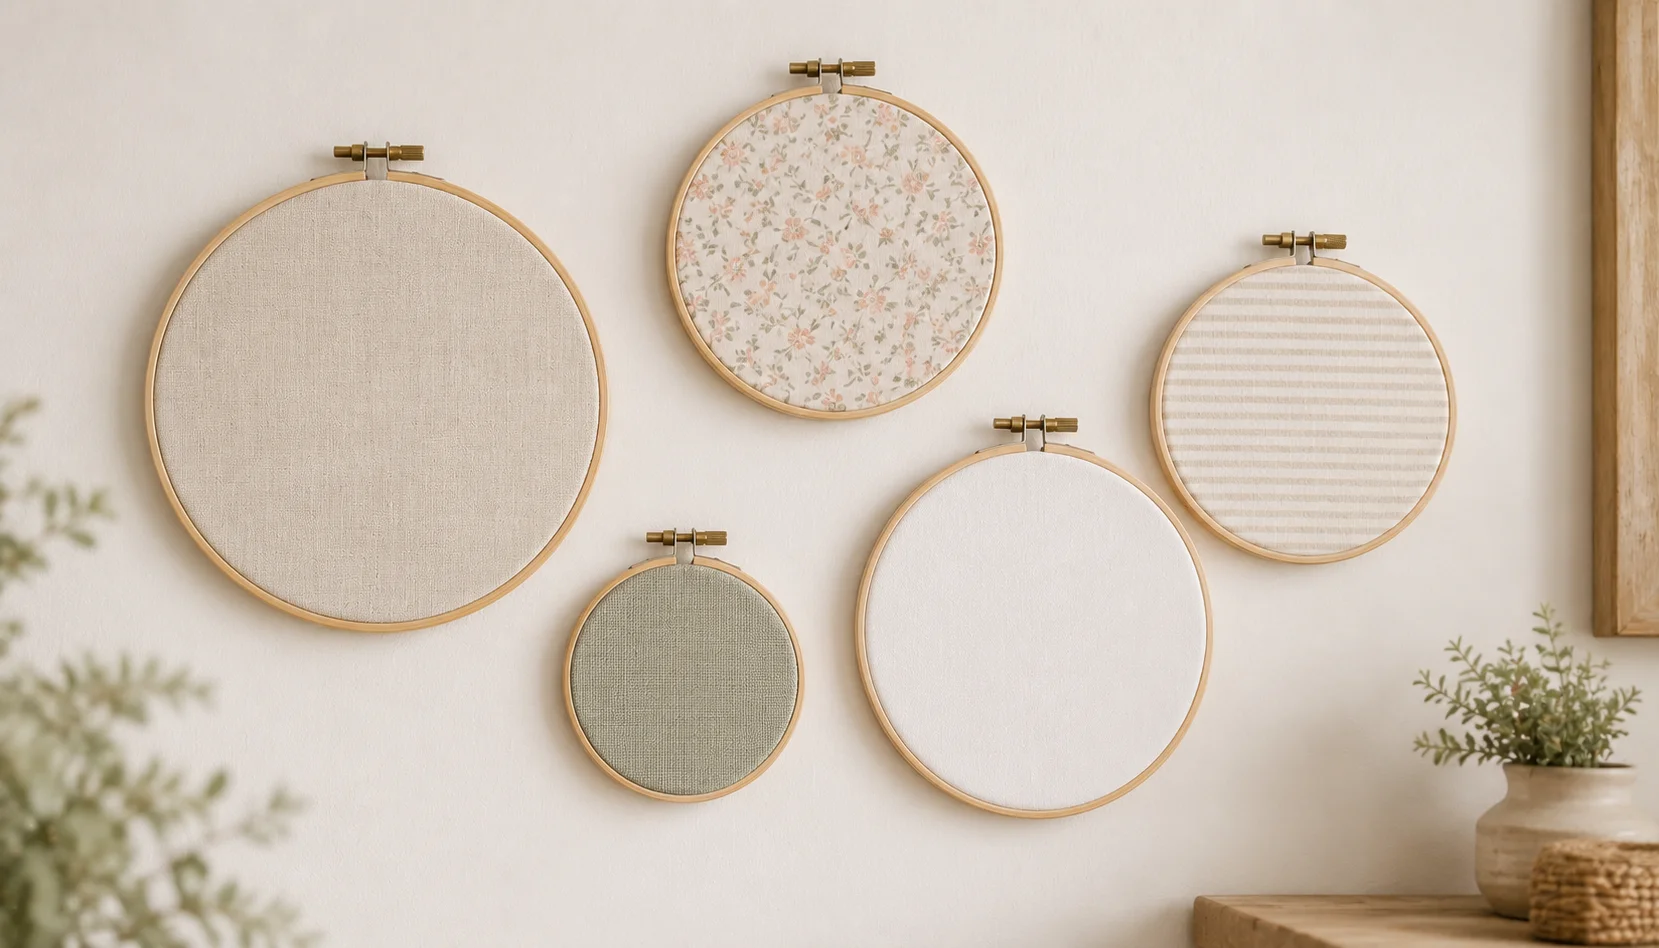
This is the easiest wall art hack that nobody talks about enough. Fabric stretched over a canvas or embroidery hoop looks genuinely impressive, and takes almost no skill.
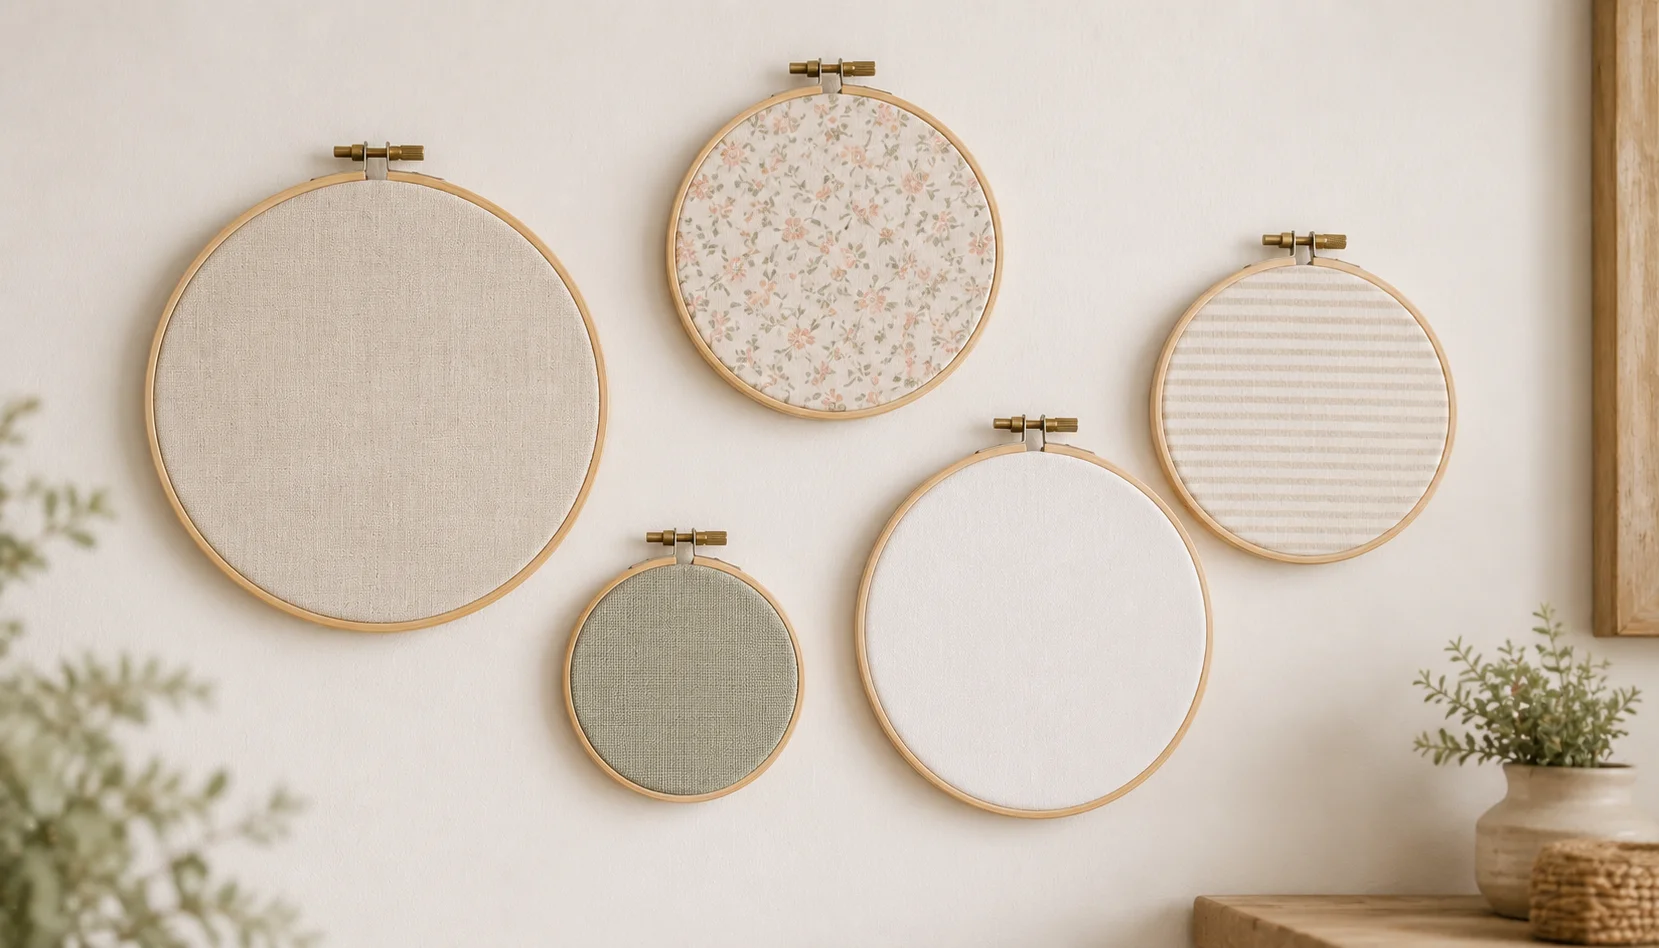
What you need: Embroidery hoops ($2–3 each), fabric scraps or remnants, scissors, hot glue
How to do it:
- Cut fabric slightly larger than your hoop
- Place the inner hoop on a flat surface
- Lay your fabric over it, pattern side up
- Press the outer hoop down over the fabric to trap it
- Pull the fabric edges taut and even, then tighten the screw
- Trim excess fabric from the back, leaving about 2cm
- Fold and glue the excess to the back with hot glue for a clean finish
Best fabrics to use: Linen, cotton with a subtle pattern, vintage fabric scraps, textured weaves, or even wallpaper samples.
Display tip: Create a gallery wall of five to seven hoops in different sizes. Mix plain textures with subtle patterns. They look great grouped together and cost almost nothing. For another budget-friendly gallery wall idea, see our guide to decorative plate wall ideas.
Mason Jar Candle Holders
Cost: $4–8 | Time: 20 minutes
Mason jars are incredibly versatile. Painted or wrapped, they transform into elegant candle holders that look like they belong in a boutique hotel.
What you need: Mason jars or glass jars, twine or rope, hot glue, paint, tea light candles
Version 1 — Twine Wrapped:
- Apply a line of hot glue around the base of the jar
- Press the end of your twine into the glue and hold for 10 seconds
- Continue wrapping upward, adding glue every few rows
- Cover as much or as little as you like; half-wrapped looks great
- Trim and glue the end to finish
Version 2 — Frosted Paint:
- Mix white acrylic paint with a little water (50/50)
- Paint the inside of the jar with the mixture
- While wet, turn upside down to let excess drip out
- Let dry fully; creates a beautiful frosted glass effect
Version 3 — Colour Dipped:
- Dip the bottom third of the jar in paint
- Let drip dry upside down on parchment paper
- The natural drip lines look artistic and intentional
Place a tea light or LED candle inside for instant atmosphere.
Rope Baskets
Cost: $8–15 | Time: 45–60 minutes
Rope baskets are everywhere in home decor stores right now, and they’re priced accordingly ($30 to $60 each). Making your own costs a fraction and takes less than an hour.
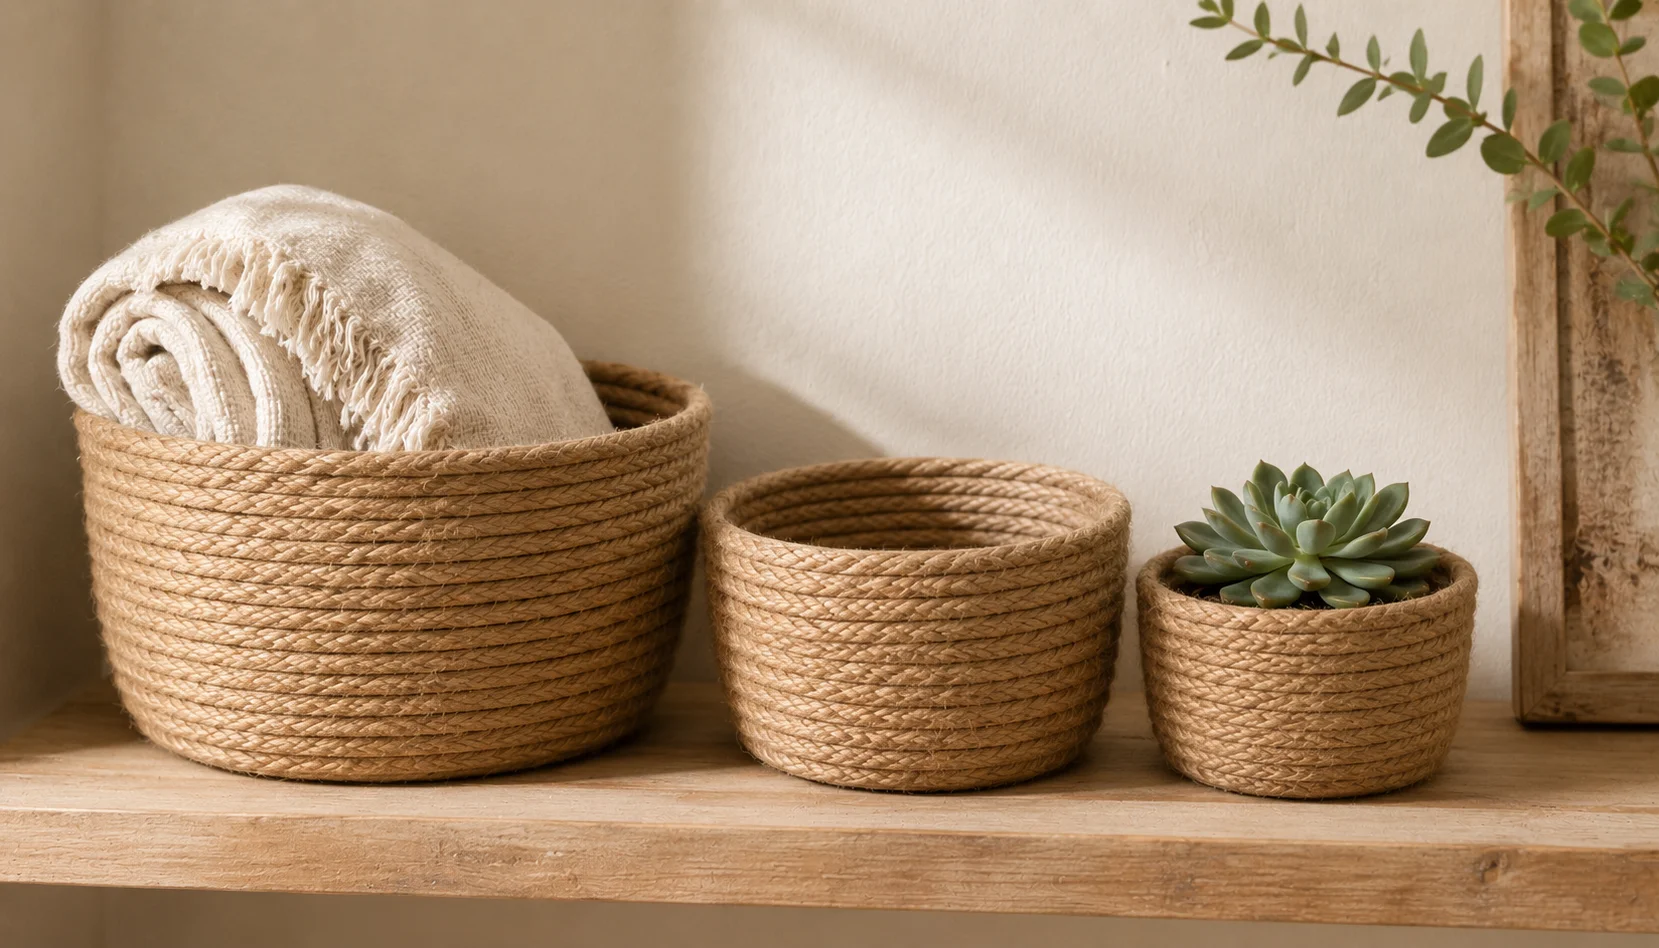
What you need: Thick jute rope (5–8mm), hot glue gun, scissors
How to do it:
- Start with the base: coil the rope tightly into a flat circle, gluing as you go (apply hot glue to the side of each coil, pressing the next row firmly against it)
- When the base is the size you want (10–15cm diameter), start building the sides by angling the rope upward slightly with each row
- Continue coiling and gluing upward until the basket reaches your desired height
- Trim the rope end at an angle and glue it flush against the basket wall
Tips for a neat finish:
- Work slowly and press each coil firmly before moving on
- Keep tension consistent; too loose and it won’t hold shape
- For a coloured version, paint the rope before coiling or use coloured cotton rope
Use them for: storing throws, holding plants, organising magazines, or purely as decorative objects.
String Wall Art
Cost: $6–10 | Time: 45 minutes
String art sounds complicated but it’s surprisingly straightforward, and the results are genuinely impressive. Geometric patterns look modern and intentional on any wall.
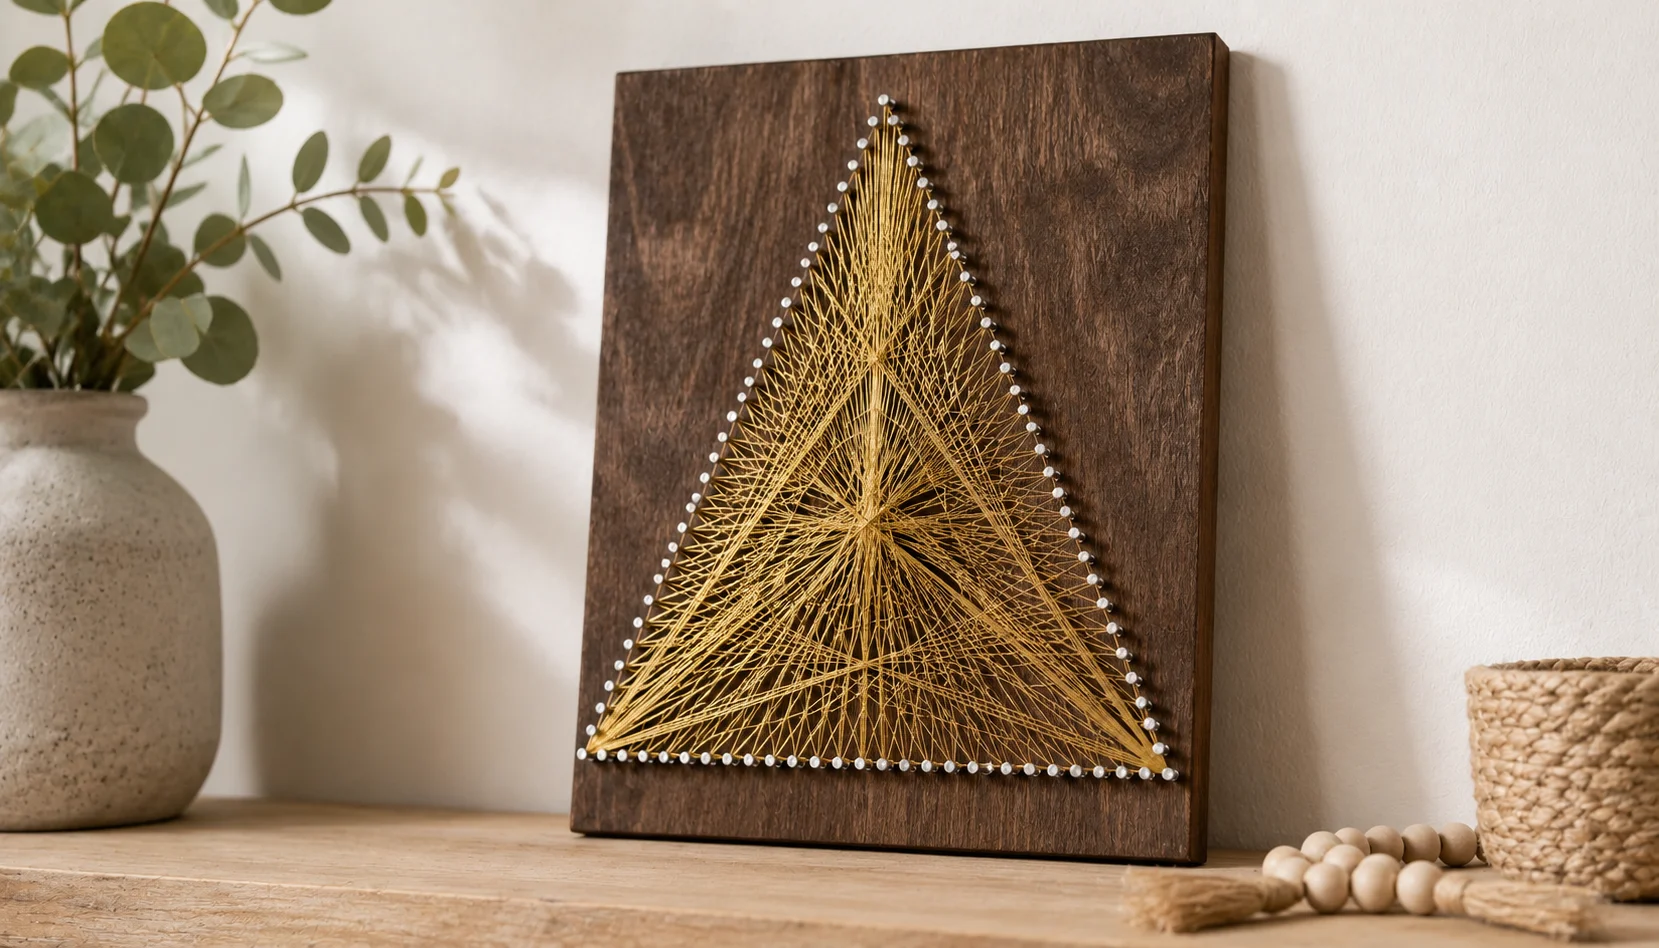
What you need: Wooden board, small nails, hammer, coloured thread or embroidery floss, pencil
How to do it:
- Paint or stain your wooden board and let dry
- Draw your pattern on paper first; simple shapes work best: triangle, star, diamond, letter, or abstract lines
- Trace the pattern lightly onto the board with pencil
- Hammer small nails along the pattern lines, spacing them evenly (about 1–1.5cm apart)
- Tie your thread to a starting nail and begin weaving: go from nail to nail creating the pattern, wrapping twice around each nail
- Vary the thread paths to create density and depth
- Tie off the end and trim
Easiest patterns for beginners: A simple triangle, a sunburst from a central point, or the outline of a leaf or mountain shape.
Thread colours that work beautifully: Gold on black wood, white on dark walnut, terracotta on cream, or navy on natural pine.
Painted Wooden Signs
Cost: $4–8 | Time: 30 minutes + drying
Personalised wooden signs for the home, the kind that sell for $25 to $40 in gift shops, take about 30 minutes to make yourself.
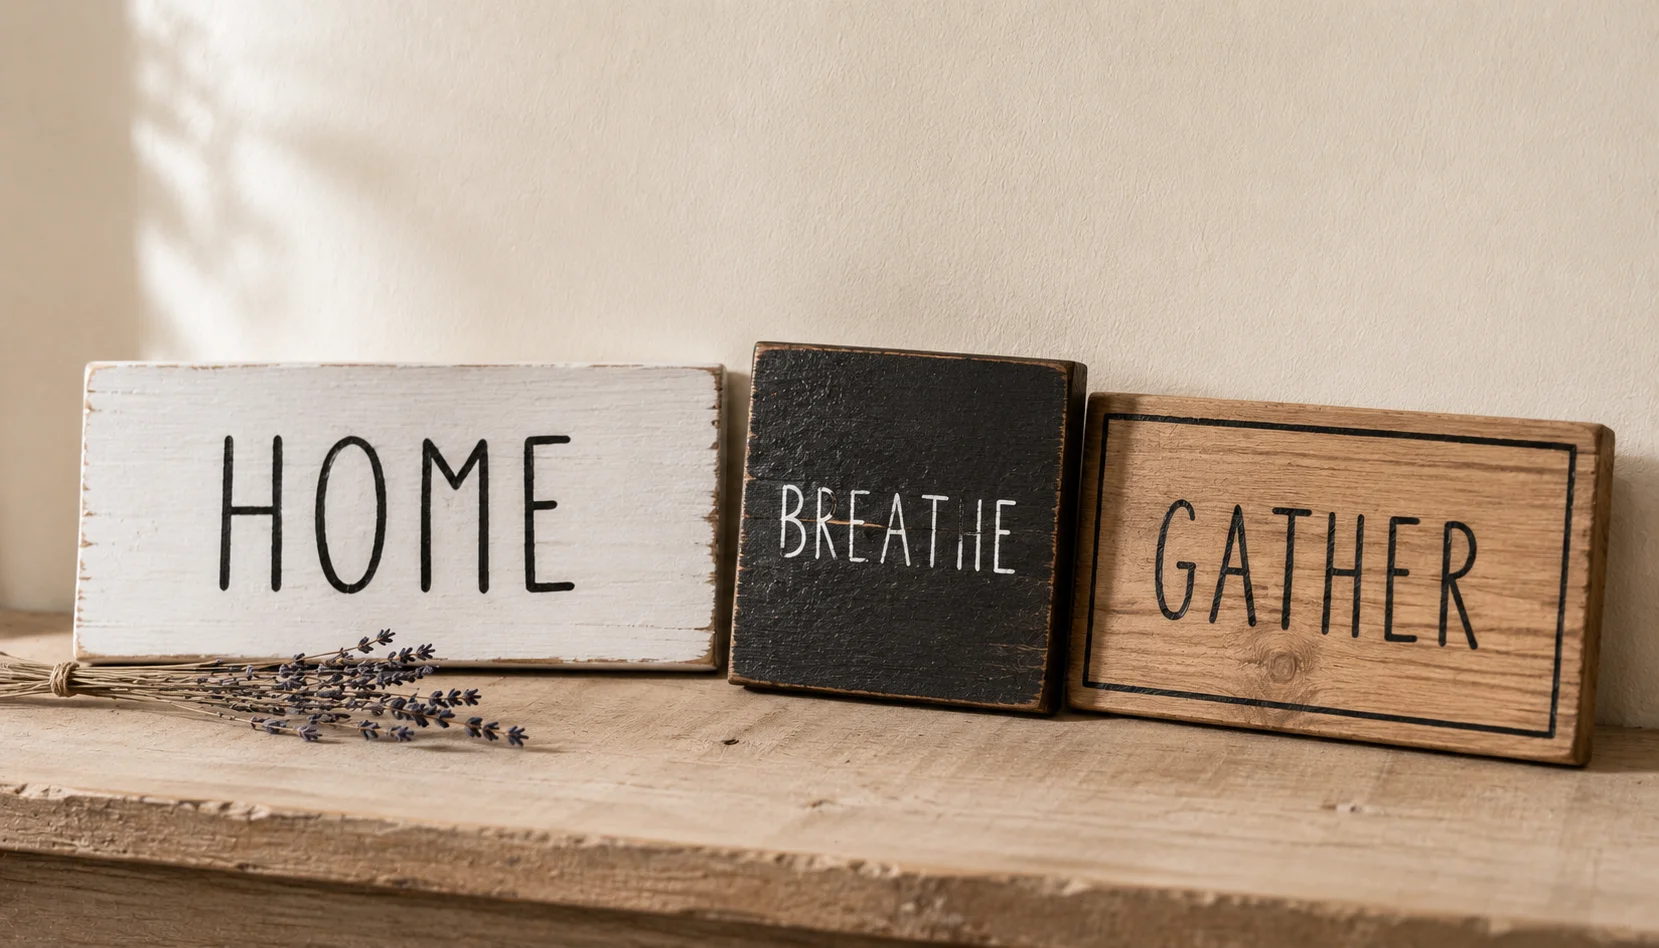
What you need: Wooden board or plaque, paint, fine brush or paint pen, sandpaper
How to do it:
- Lightly sand the wood for a smooth surface
- Paint a base colour and let dry fully
- Lightly pencil your word or phrase onto the board
- Paint over the pencil marks carefully with a fine brush or use a paint pen for cleaner lines
- Let dry, then erase any visible pencil lines
- Sand lightly for a vintage, slightly worn look (optional)
- Add a twine loop at the back for hanging
Words and phrases that work well: Home, Gather, Breathe, Create, Simple Living, or just a single initial.
Style tip: Keep it simple. One word in clean lettering on a white or black background looks far more elegant than a busy design.
Fabric Banner
Cost: $3–7 | Time: 30 minutes
Fabric or felt banners add colour, texture, and movement to any wall. They’re especially beautiful in bedrooms, nurseries, and above mantels.
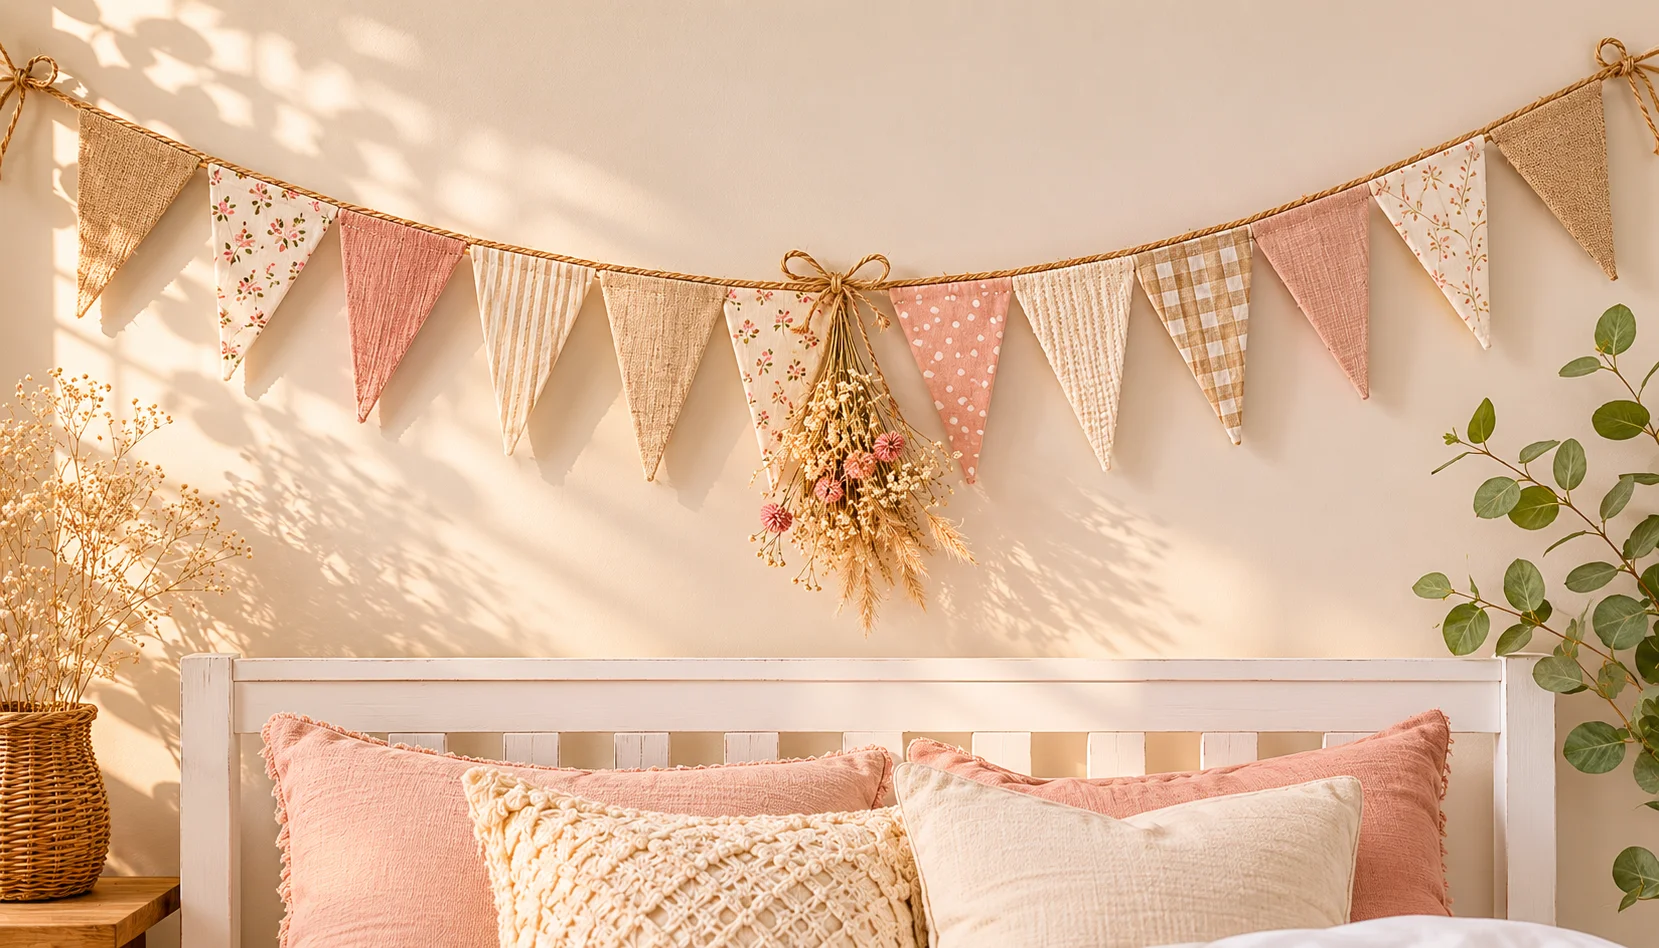
What you need: Fabric scraps or felt, twine or thin rope, scissors, hot glue (or needle and thread)
How to do it:
- Cut fabric into triangles, all the same size for a uniform look, or vary them for a more eclectic feel
- For each triangle, fold the top edge over the twine and glue or sew down
- Space triangles evenly along the twine as you go
- Leave extra twine at each end for hanging
Fabric combinations that look beautiful:
- All neutral linens (cream, oat, warm white)
- Alternating white and terracotta
- Patterned with plain in the same colour family
- All the same fabric for a minimal, modern look
Variation: Instead of triangles, try rectangles with frayed edges for a more organic, boho look.
Succulent Planter Display
Cost: $5–12 | Time: 20 minutes
Succulents are the perfect beginner plant: nearly impossible to kill, beautiful to look at, and endlessly versatile as decor. A creative planter makes them look even better.
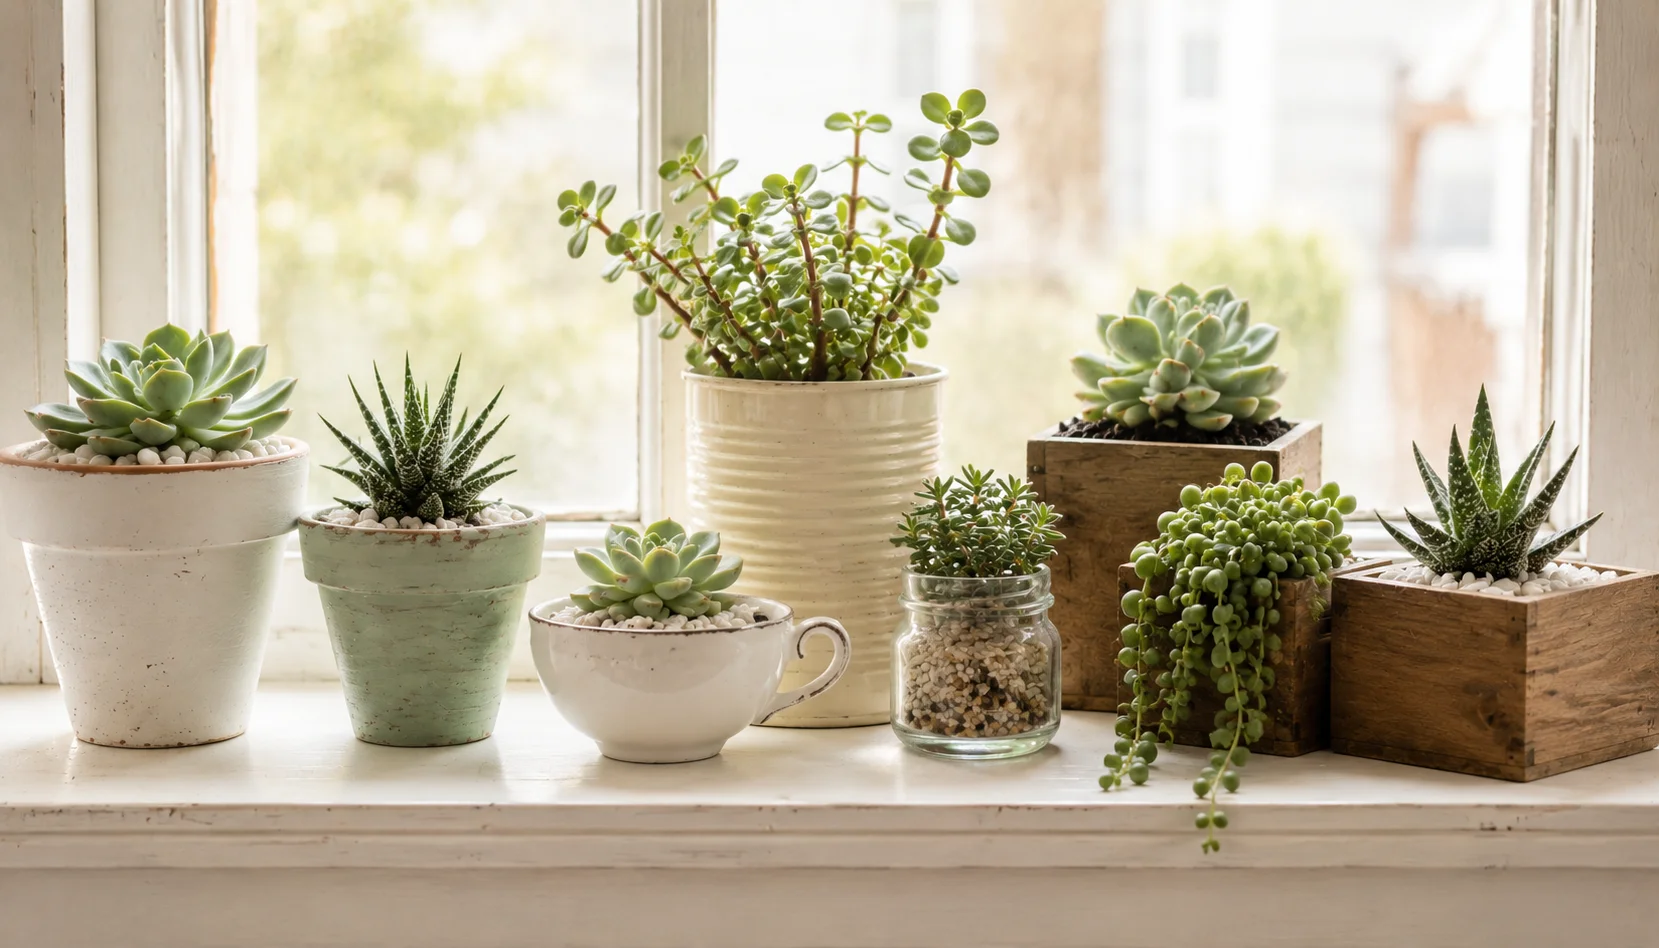
What you need: Succulents ($1–3 each from garden centres), creative containers, potting mix, small stones or gravel
Container ideas that work beautifully:
- Painted tin cans (paint and seal them first)
- Vintage teacups or small bowls
- Wooden boxes lined with plastic
- Painted terracotta pots (from Project 01!)
- Small glass jars filled with gravel at the base
How to do it:
- Add a layer of small stones or gravel to the bottom for drainage
- Fill with well-draining succulent or cactus potting mix
- Make a small hole, insert the succulent, and press soil around it
- Top with decorative gravel or small stones
Display idea: Group five to seven different succulents in a mix of containers along a windowsill. Vary the heights and textures. It looks like a considered, curated display, but costs almost nothing. Pair your new planters with easy-care greenery from our guide to the best houseplants for your living room.
Simple Woven Wall Hanging
Cost: $8–15 | Time: 60–90 minutes
Woven wall hangings are statement pieces. The ones in shops cost $50 to $150. A beginner version made at home costs under $15 and looks genuinely beautiful.
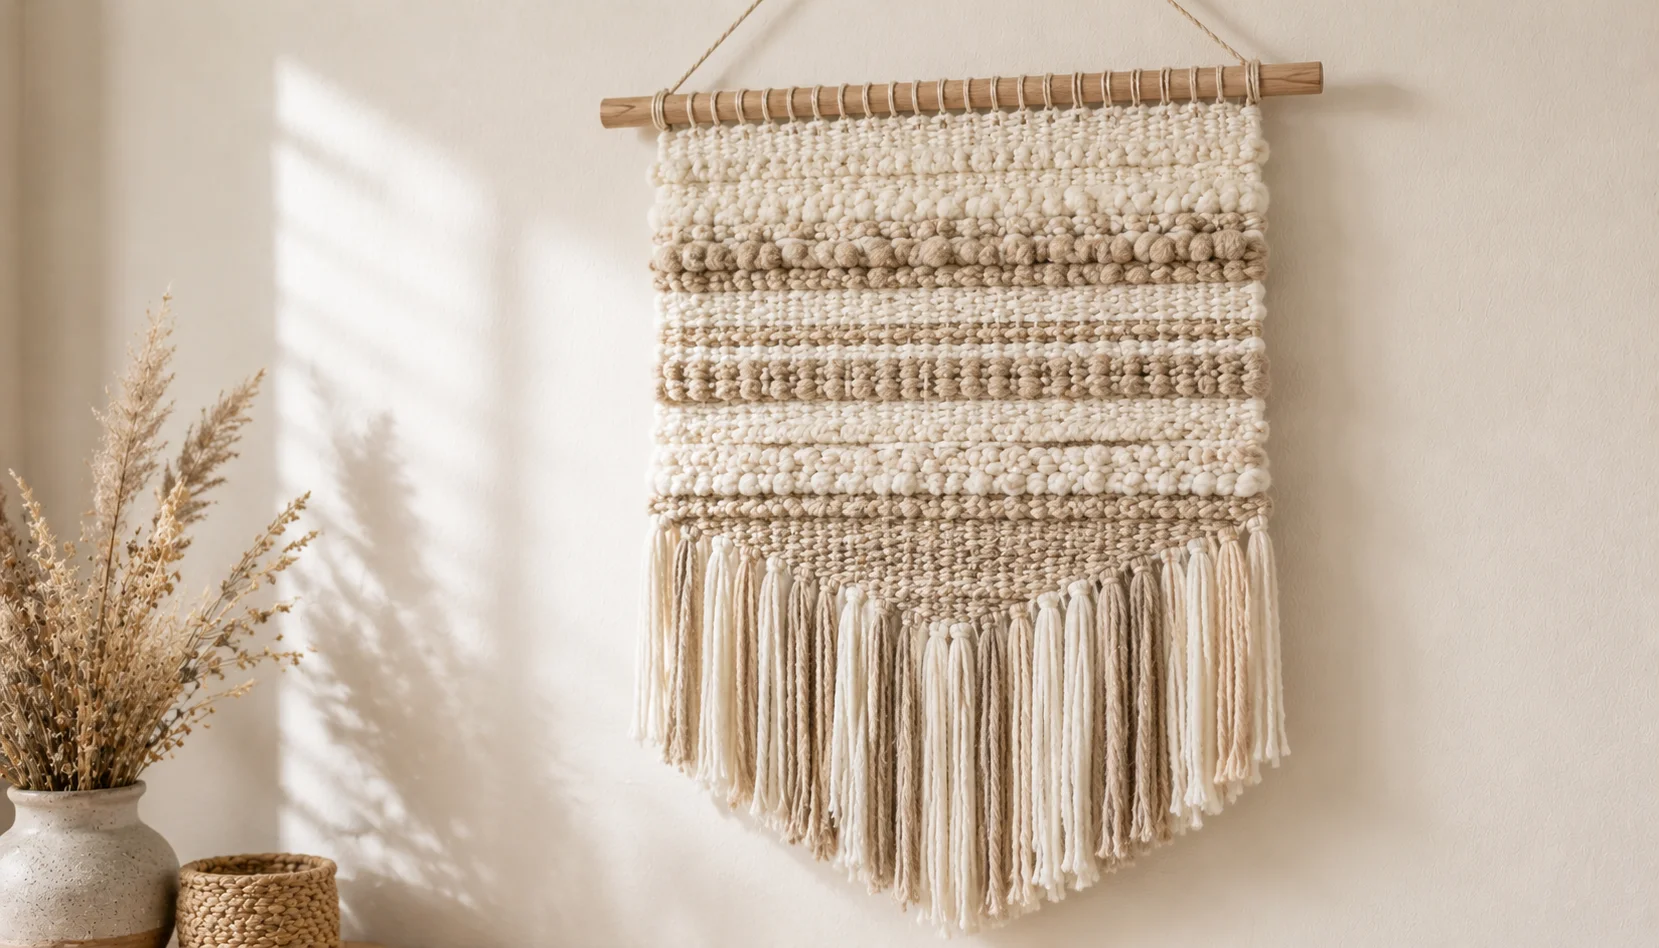
What you need: A wooden dowel or thick branch, assorted yarn in 2–3 colours, scissors, a comb
How to do it:
- Cut lengths of yarn about 3x your desired finished length
- Fold each piece in half and attach to the dowel using a lark’s head knot (fold in half, loop over the dowel, pull the ends through the loop)
- Fill the dowel with knots until you have your desired width
- Weave horizontal rows by passing a long piece of yarn over and under alternating strands, pushing each row up tightly with a comb
- Alternate colours as you work upward for pattern and texture
- Add fringe at the bottom by leaving yarn ends loose or cutting them to shape
- Trim the bottom into a V-shape or straight line for a clean finish
Beginner tip: Don’t aim for perfect. Slight irregularities make handwoven pieces look more artisan and authentic, not worse.
Styled Cork Board Bulletin Board
Cost: $5–10 | Time: 20 minutes
A plain cork board is functional but uninspiring. With a little effort it becomes a stylish feature wall piece, perfect for a home office, kitchen, or bedroom.
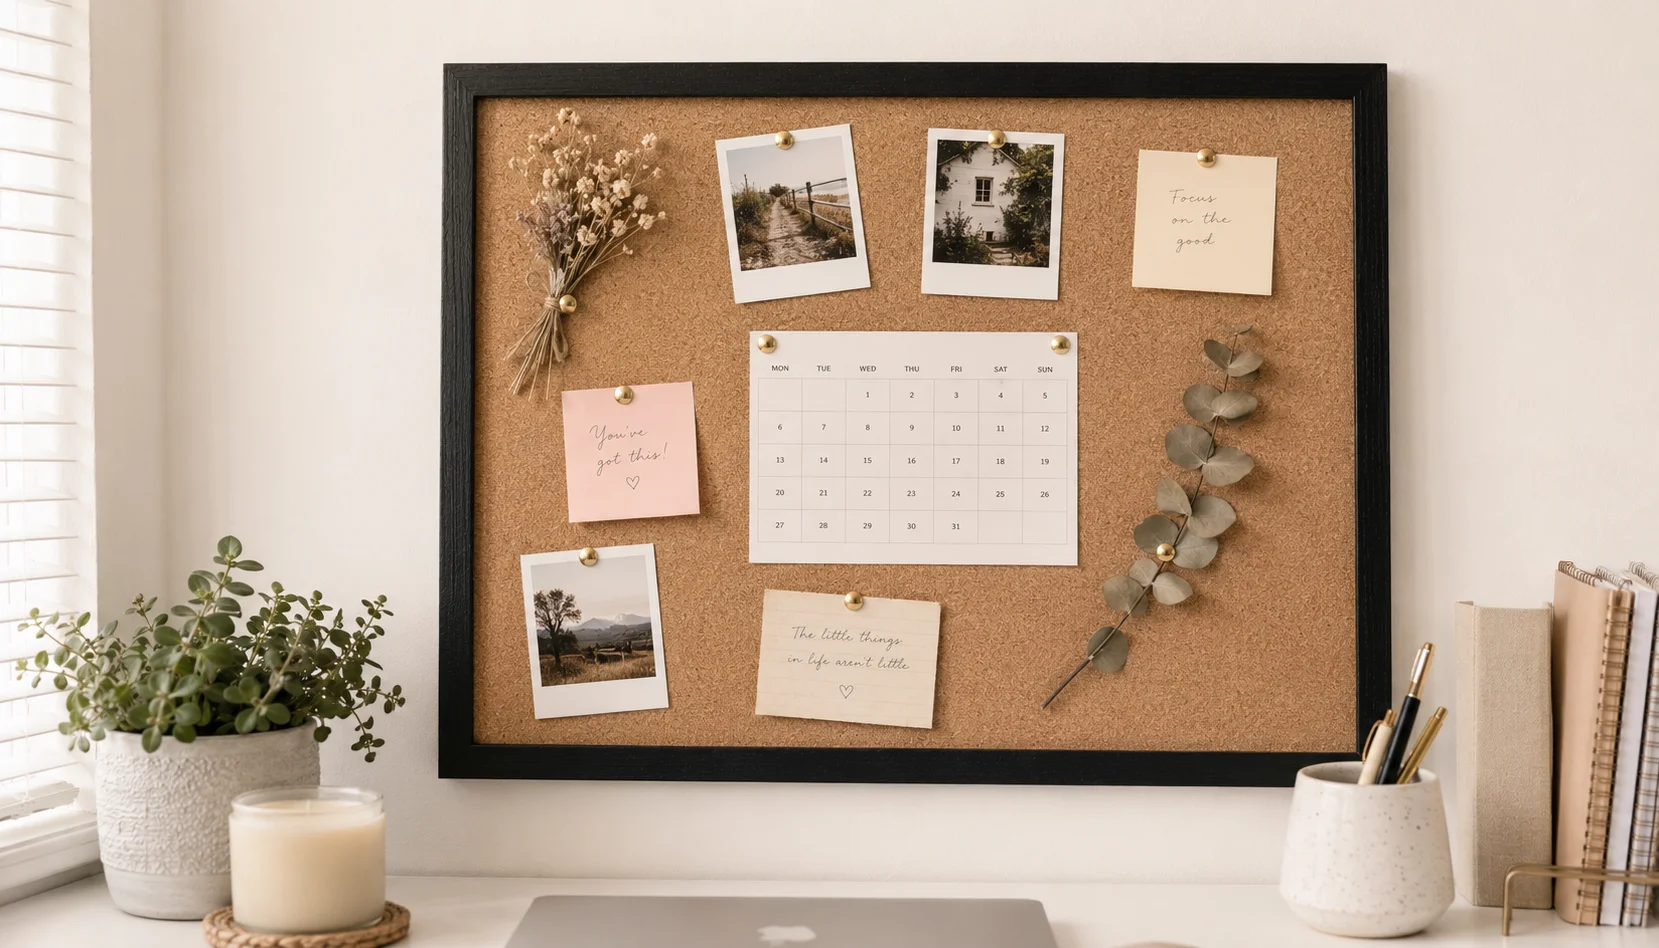
What you need: Cork board ($3–5 from dollar stores), fabric or paint, hot glue, decorative pins or washi tape
Version 1 — Painted Frame:
- Paint the frame of the cork board in a colour that matches your room
- Add a second coat once dry
- Optional: paint geometric shapes or a colour block directly onto the cork itself
Version 2 — Fabric Covered Frame:
- Cut fabric to wrap around the frame
- Hot glue the fabric neatly around the frame edges
- Miter the corners for a clean finish
Styling the board:
- Pin a few postcards or photos
- Add a small air plant or dried flower bunch pinned in the corner
- Use washi tape to create sections
- Pin a small calendar and a few favourite quotes
The goal isn’t to cover every inch. Negative space makes the board look styled rather than cluttered.
Ten projects, ten chances to make your home more beautiful for less than the cost of a single shop-bought decor piece. Start with whichever one excites you most; there’s no wrong order.
The best thing about DIY decor is that it evolves with you. Made a rope basket that’s a little lopsided? Make another one. Painted a sign and the letters aren’t perfect? Sand it back and try again. Every attempt teaches you something, and the results (imperfections and all) carry something no store-bought piece ever can: the fact that you made it yourself.
If you’re decorating on a total room budget rather than project by project, see our guide to small living room ideas for renters under $200.